Address
8th Floor, Building N6, Fenggang Tian’an Cyber Park, No. 206 Fenggang Section, Dongshen Road, Fenggang Town, Dongguan, Guangdong, China
Work Hours
Monday to Friday: 7AM - 7PM
Weekend: 10AM - 5PM
Address
8th Floor, Building N6, Fenggang Tian’an Cyber Park, No. 206 Fenggang Section, Dongshen Road, Fenggang Town, Dongguan, Guangdong, China
Work Hours
Monday to Friday: 7AM - 7PM
Weekend: 10AM - 5PM

Plan embossed and debossed tin boxes with practical advice on artwork, material choices, print registration, tooling and physical sample inspection.
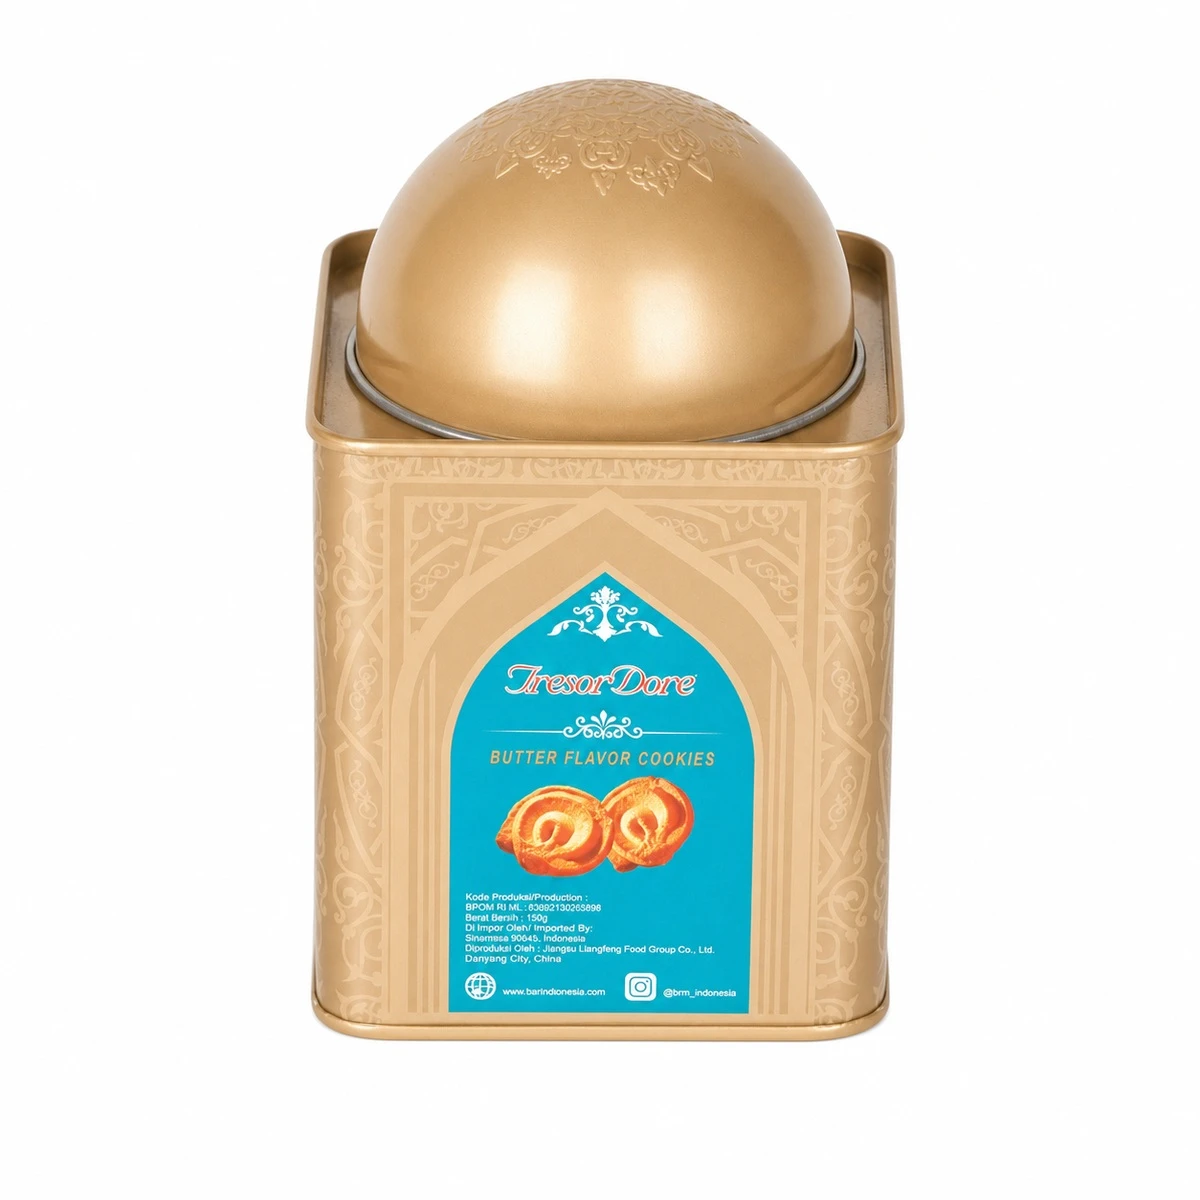
Embossing raises a design above the tin surface; debossing presses it below the surface. Both create tactile branding, but a successful result depends on the tinplate specification, relief depth, artwork placement and forming process. Approve a physical sample before production.
This design guide is for brands preparing embossed or debossed custom tin packaging with JIAMU. For a broader overview of colour and finishing methods, start with our tin box printing techniques guide. Here, the focus is relief design, feasibility and sample acceptance.
| Effect | Design use | Check before approval |
|---|---|---|
| Embossing | Raised logos, borders and patterns | Relief height, edge definition and contact with stacked tins |
| Debossing | Recessed marks and restrained textures | Readability, depth and interior clearance |
| Combined relief | A raised focal mark with a recessed background | Spacing between features and cumulative forming demands |
Thickness matters, but there is no single thickness threshold that guarantees a result. Steel temper, feature depth, panel size, curvature, tool radii and the location of the relief all affect feasibility. A shallow logo and a deep decorative pattern can require different specifications even on the same tin format.
Compare the material choices in our tinplate thickness and temper guide. Have the manufacturer review the proposed geometry before selecting a gauge or promising a minimum feature size.
Our print-ready artwork guide covers file preparation. Confirm final dimensions and safe zones on the manufacturer’s dieline.
Print and relief must be registered to each other when a raised logo follows a printed outline. Discuss the acceptable alignment variation before tooling. Very thin printed borders around relief can make small shifts conspicuous.
The manufacturing sequence depends on the part and tooling. Printing is commonly applied to flat sheets before forming; embossing may be a separate or integrated forming operation. Confirm the sequence for the actual design rather than assuming every tin follows one route.
Selective white underprint, colour and varnish can enhance a relief effect, but approve their appearance together. Use our colour matching and proofing guide to define the print reference.
Relief can stiffen parts of a panel, but it also deforms the metal. Excessive depth, unsuitable radii or placement near an edge can create distortion or damage the finish. Do not assume that embossing always strengthens a tin or never affects the coating.
For food packaging, check the interior surface after forming as well as the exterior design. The coating and intended food contact still need review; see our interior coating guide.
| Check | Acceptance detail to agree |
|---|---|
| Relief definition | Logo, lettering and gaps remain recognizable at actual size |
| Print registration | Printed elements align with relief within the agreed tolerance |
| Surface condition | No unacceptable cracking, exposed metal, scratches or distortion |
| Fit and function | Lid closes, opens and stacks as intended; inserts fit |
| Repeatability | Approved sample, drawings and finish references are recorded |
Apply the checks to a production-representative sample rather than a digital rendering alone. The B2B quality inspection guide provides the wider shipment checklist.
Relief tooling is quoted by design, area, depth, complexity and the number of parts. Confirm whether it is separate from the shape tooling, who retains the tools, what changes require retooling, and how maintenance is handled on repeat orders. There is no reliable universal die price or MOQ for all embossed tins.
Read our tooling and tolerances guide before committing to new dies. If a seasonal food pack is the goal, our biscuit and cookie tin guide explains how the relief design fits with lids, inserts and transit protection.
Embossing raises selected features above the surface; debossing recesses them. Both use tooling to form tactile designs in the metal.
There is no universal minimum. Thickness, temper, relief depth, panel geometry and tooling must be assessed together for the actual design.
Yes, but an alignment tolerance must be agreed and verified on a physical sample. Fine borders and small lettering need particular attention.
No. Relief can stiffen a panel locally, but excessive deformation can create distortion or coating damage. Check the finished part and closure.
Send the tin size or dieline, vector print artwork, separate emboss/deboss layers, intended effect, order quantity and target market.
JIAMU manufactures custom tin packaging for food, tea, cosmetics and gift brands. Explore our custom tin manufacturing services or send your artwork for a feasibility review. Confirm the tooling scope and sample acceptance criteria before placing the bulk order.